A methodical approach, both in clinical and laboratory settings, establishes predictability for full-mouth rehabilitation. The process encompasses objective clarification through diagnostic wax-ups and bite sequencing protocols.
Clarify the Goals of Treatment
Practitioners should discuss patient aspirations and desired outcomes, addressing:
- Incisal edge positioning of teeth #8 and #9
- Buccal corridor modifications
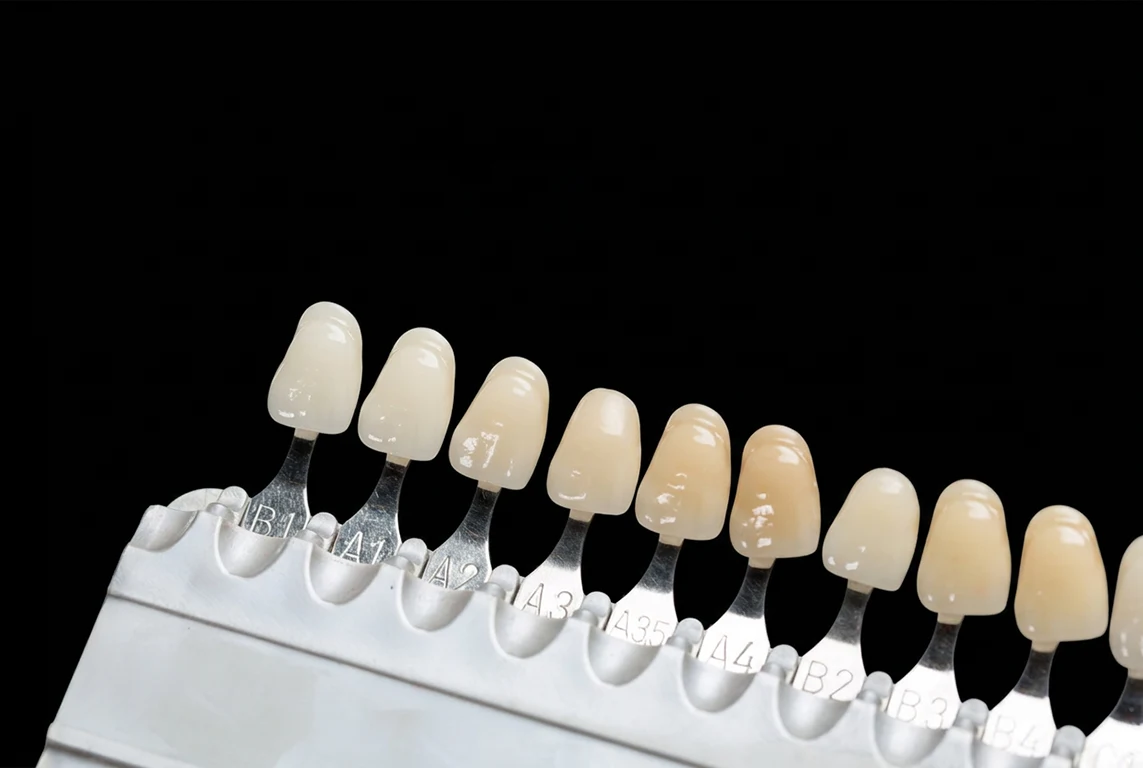
- Tooth shade, shape, translucency, and surface characteristics
- Vertical dimension of occlusion changes and functional envelope adjustments
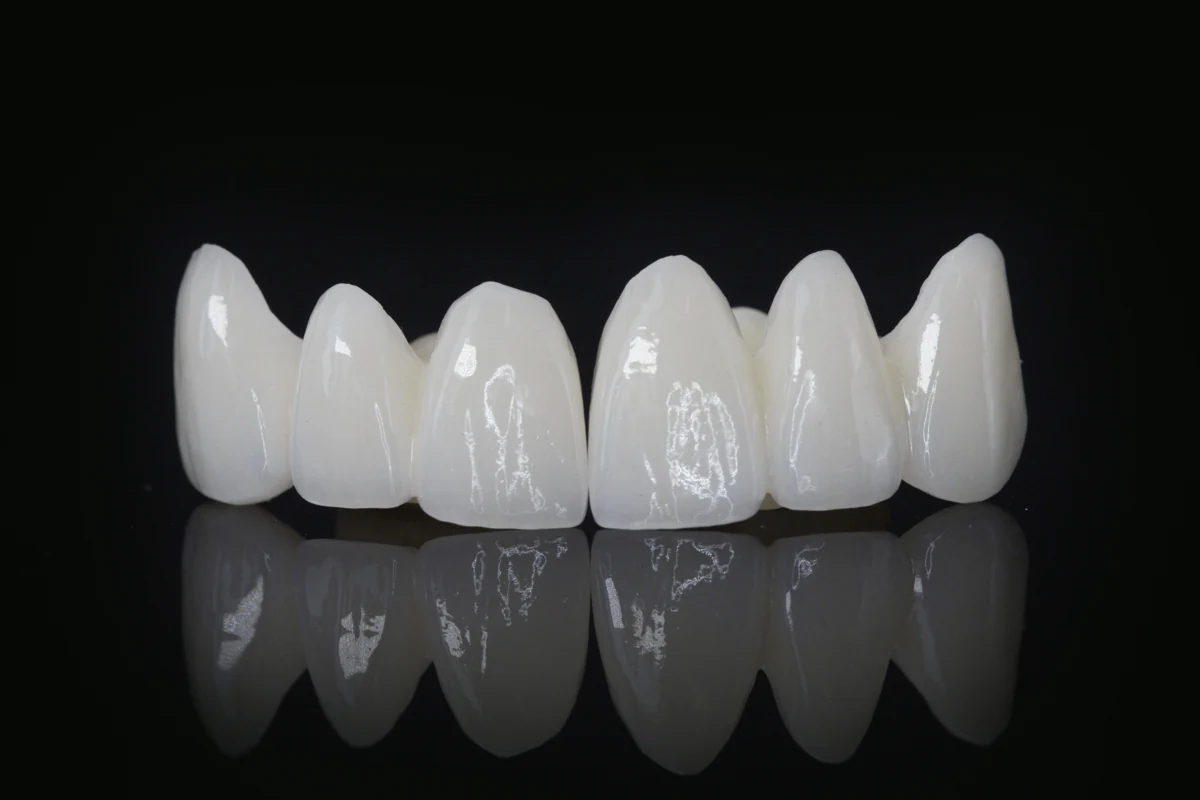
- Restoration types (PFZ, veneers, PFM)
Establish realistic timelines and mention potential adjustment visits. Avoid scheduling near patient travel.
Write a Detailed Laboratory Prescription
Document all discussed parameters across multiple pages. Written prescriptions should supersede verbal communication with technicians.
Pre-Op Impressions & Smile Design Photos
Collect detailed VPS impressions of upper and lower arches along with five smile-design photographs.
Face Bow Transfer
Supply a facebow transfer establishing midline and horizontal occlusal plane orientation. A stick bite can be used, but it is not a substitute for a facebow. Communicate your articulator model.
Meet with the Laboratory Technician
Conduct discussions via phone, video, or in-person covering restoration types, esthetic objectives, prescription modifications, and documentation.
The Diagnostic Wax-Up
An analog process performed by one of our master technicians is highly recommended for full-mouth rehabilitation, though digital workflows suit some cosmetic applications.
The laboratory provides prep guides and putty-wash matrices for chairside temporaries. Collect study impressions of temporaries with bite registrations before final impressions.
Prep Day, Maintaining the Pre-Op VDO
- Prepare teeth 3 to 5 and 28 to 30, registering with semi-rigid material (Futar/Futar D). Unprepped teeth 2 and 31 serve as stops.
- Prepare opposite-side posteriors 12 to 14 and 19 to 21, maintaining right-side registration for stability and registering left-side posteriors using unprepped teeth 15 and 18.
- Repeat for anterior twelve teeth, replacing posterior registrations.
- Prep teeth 2, 15, 18, and 31, replacing posterior registrations and incorporating new material.
Prep Day, Opening the Patient’s VDO
- Capture centric relation using a leaf gauge.
- Register at leaf gauge and most posterior stops (2/31 and 15/18) maintaining new VDO.
- Prep and register as above using leaf gauge and posterior stops.
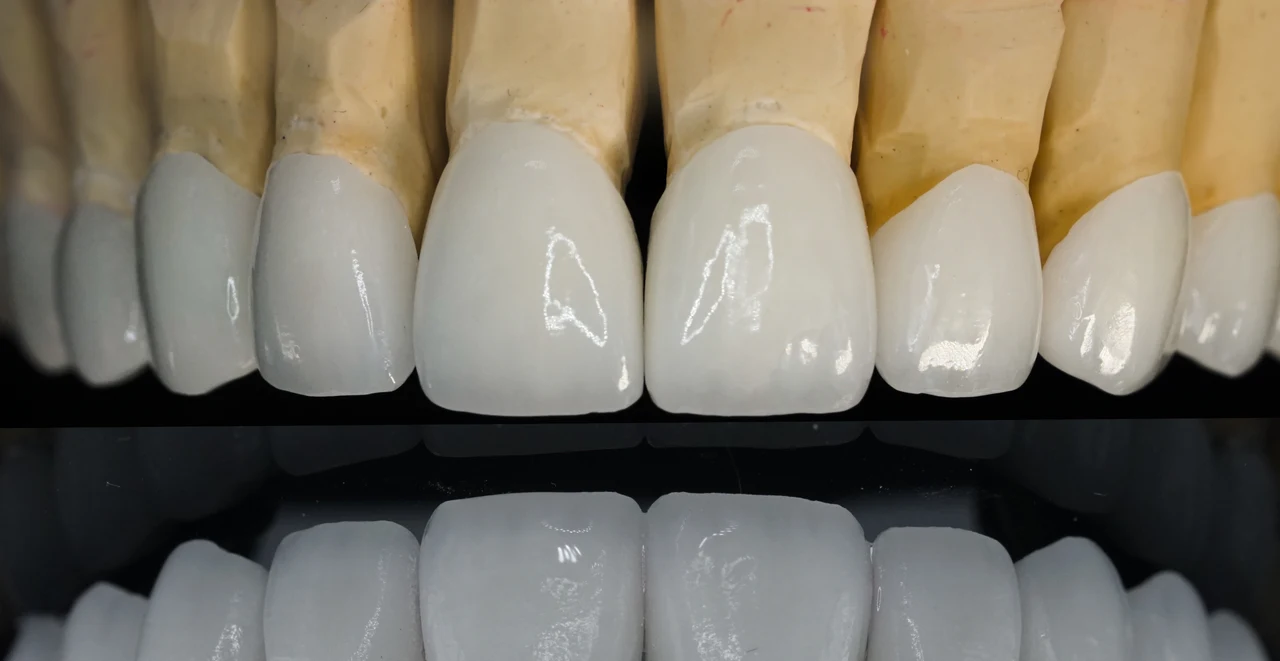
Capture full-arch impressions via a dual-cord technique to expose a clear, traceable 360° margin on each tooth. Additional quadrant impressions may address unclear margins; the full-arch impression must serve as the working model. Significant distortions require replacement.
Use the putty/wash matrix from the diagnostic wax-up for temporary fabrication.
Provisional Recall Appointment
Refine occlusion and esthetics until patient satisfaction and two-week stability occur before advancing to final restorations.